Can you actually stop it? What coaster brakes, rim brakes and hand levers ask of you
How a coaster brake behaves mid-corner and on wet pavement, what a single rear rim brake adds, which frames accept which setups, and what a later swap really costs.
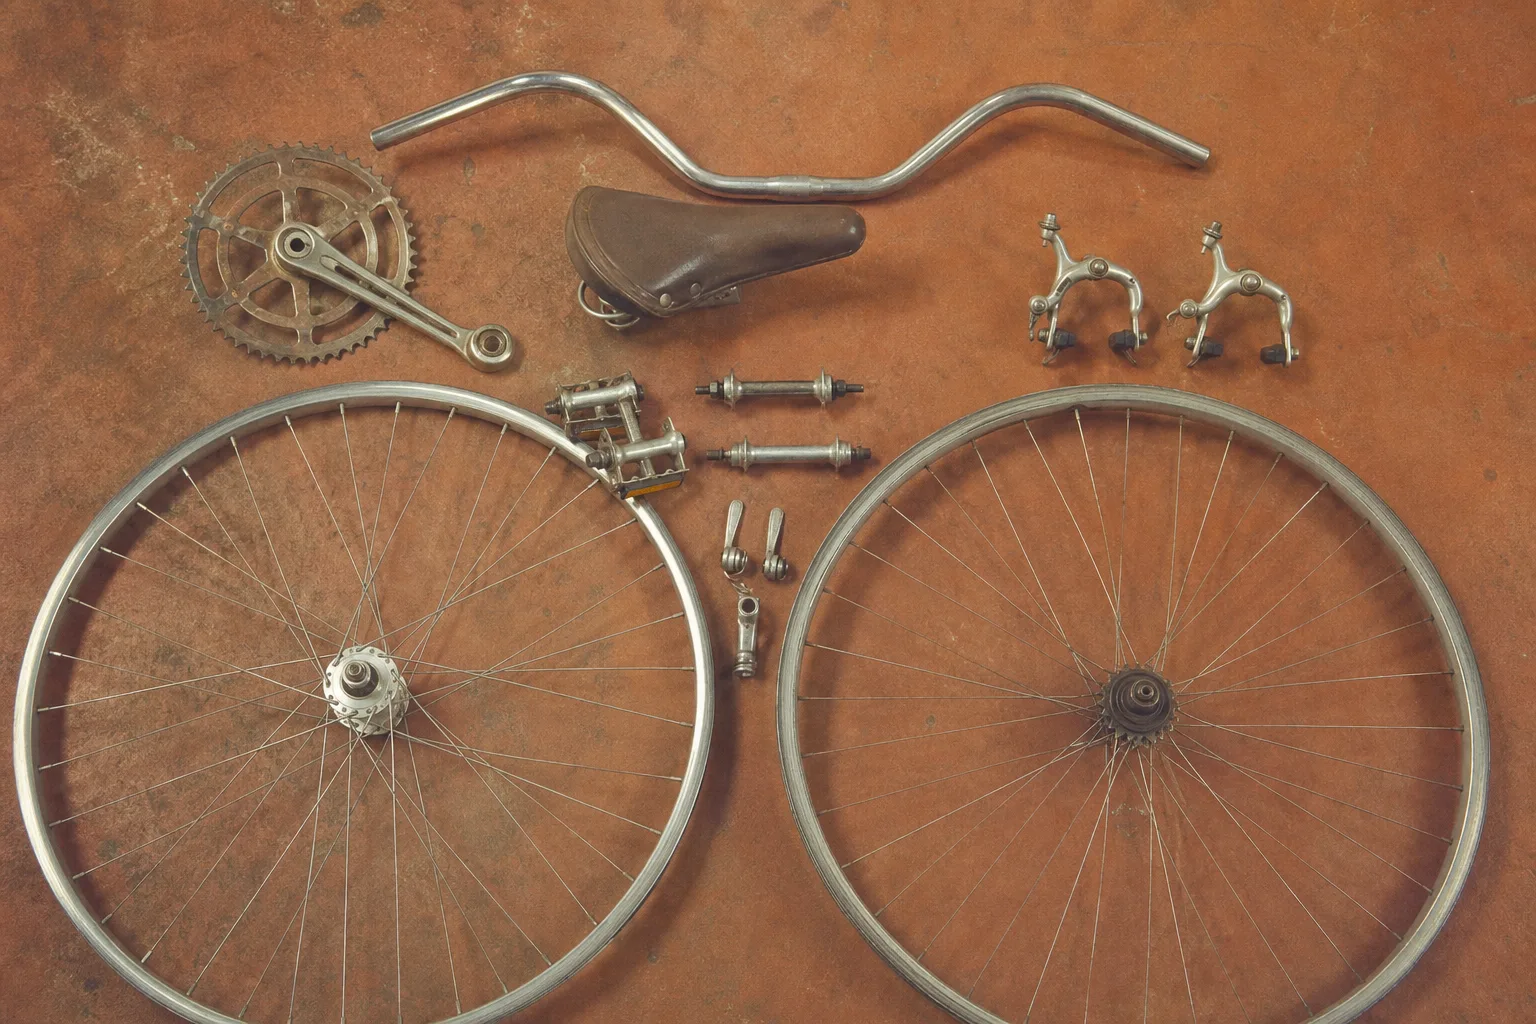
Braking is the part of an upright bike that a showroom visit rarely tests. A rider swings a leg over, rolls twenty feet across a flat floor, and decides the bike feels pleasant, which it does, because nothing has asked anything of it yet. The questions that matter arrive later: a car door opening at the far end of a block, a wet manhole cover in the middle of a turn, a curb cut that appears faster than expected. What stops the bike in those moments is decided at purchase, and changing it afterward is possible but rarely cheap.
What a coaster brake does, and where it runs out
A coaster brake lives inside the rear hub and engages when the rider back-pedals. It is durable, weatherproof, and almost invisible, which is why it appears on so many single-speed cruisers and step-through city bikes. It also has a specific limitation that catalog copy tends not to mention: it only works when the pedals are in a position that allows a meaningful back-pedal stroke. Come into a corner with one crank straight down and the useful travel is short. Riders learn to keep the cranks level through turns, and that habit is worth building deliberately rather than discovering under pressure.
The second limitation is where the braking happens. All of it is at the rear wheel, and a rear wheel under braking carries less weight than a front wheel does, so it locks and skids sooner. On dry, flat pavement at fifteen miles an hour, that is manageable. On a wet descent, even a modest one, the stopping distance stretches noticeably, and a locked rear wheel steers poorly. The Consumer Product Safety Commission is responsible for the federal bicycle requirements that govern how brakes on bikes sold in the United States are specified and tested, which is worth knowing when comparing what a shop bike offers against what a boxed direct-to-consumer bike does.
What a hand lever adds
Many comfort bikes pair a coaster hub with a single hand-operated rim brake, usually on the front, occasionally on the rear. That front rim brake is the meaningful upgrade, because it puts braking where the weight transfers during a stop. It also works at any crank position, which solves the mid-corner problem outright, and it gives the rider a modulated stop rather than an on-or-off one. The tradeoff is that rim brakes lose bite in the first second or two of wet-weather use while the pads clear water from the braking surface, so wet riding rewards braking earlier and lighter.
A careful reader checks the lever, not just the brake. Reach adjustment, the small screw or shim that moves the lever closer to the grip, is what makes a brake usable for smaller hands. Short-reach levers exist and cost little. For a rider with arthritis, reduced grip strength, or a wrist that does not tolerate a hard squeeze, a linear-pull rim brake with a matched lever, or a roller brake in the hub, will typically require less hand force than a basic side-pull caliper on a wide tire.
Why the frame decides some of this for you
Not every frame accepts every answer. A rear rim brake needs bosses or a bridge-mounted caliper hole, and plenty of cruiser frames built around coaster hubs have neither. A hub brake or an internally geared hub with a brake needs a frame that accepts the torque arm, and disc brakes need mounting tabs on the frame and fork plus a hub drilled for a rotor, none of which can be added later at reasonable cost. Look at the rear dropouts, the seat stay bridge, and the fork crown before buying, because those three places tell you what the bike can become.
What a swap costs after the fact
Adding a front rim brake to a fork that already has a mounting hole is the cheap case: a caliper, a lever, a cable and housing, and an hour or so of shop labor. Converting a coaster-brake rear wheel to a freewheel with a rim brake is the expensive case, because it usually means a new rear hub and therefore a rebuilt or replacement wheel, plus the brake hardware and cable, and it only works if the frame has mounts. Get a written estimate first. In many cases the money is better spent buying the braking setup you want at the outset, since the price difference between a coaster-only bike and one with a front caliper is generally smaller than the conversion.
Ride the candidate bike down whatever slope you actually have nearby, at the speed you actually ride, and stop from it twice. That single test tells you more than any spec sheet, and it is the one thing a careful buyer can do before the money changes hands.
- 01
Rear-only braking
With a coaster hub, every bit of stopping power comes from the rear wheel, which carries less weight during a stop and therefore skids sooner. A locked rear wheel also steers badly.
- 02
Wet rim lag
Rim brakes typically take a second of light dragging to wipe water off the braking surface before they bite fully. Braking earlier and more gently in the rain compensates for it.
- 03
Front caliper payoff
A front rim brake works regardless of pedal position and acts where weight transfers under braking. It is usually the single most useful addition to a coaster-brake city bike.